
Last updated November 17, 2026
 Hardwood
 Engineered hardwood
 Luxury vinyl plank
 Laminate
 Porcelain tile
 Carpet
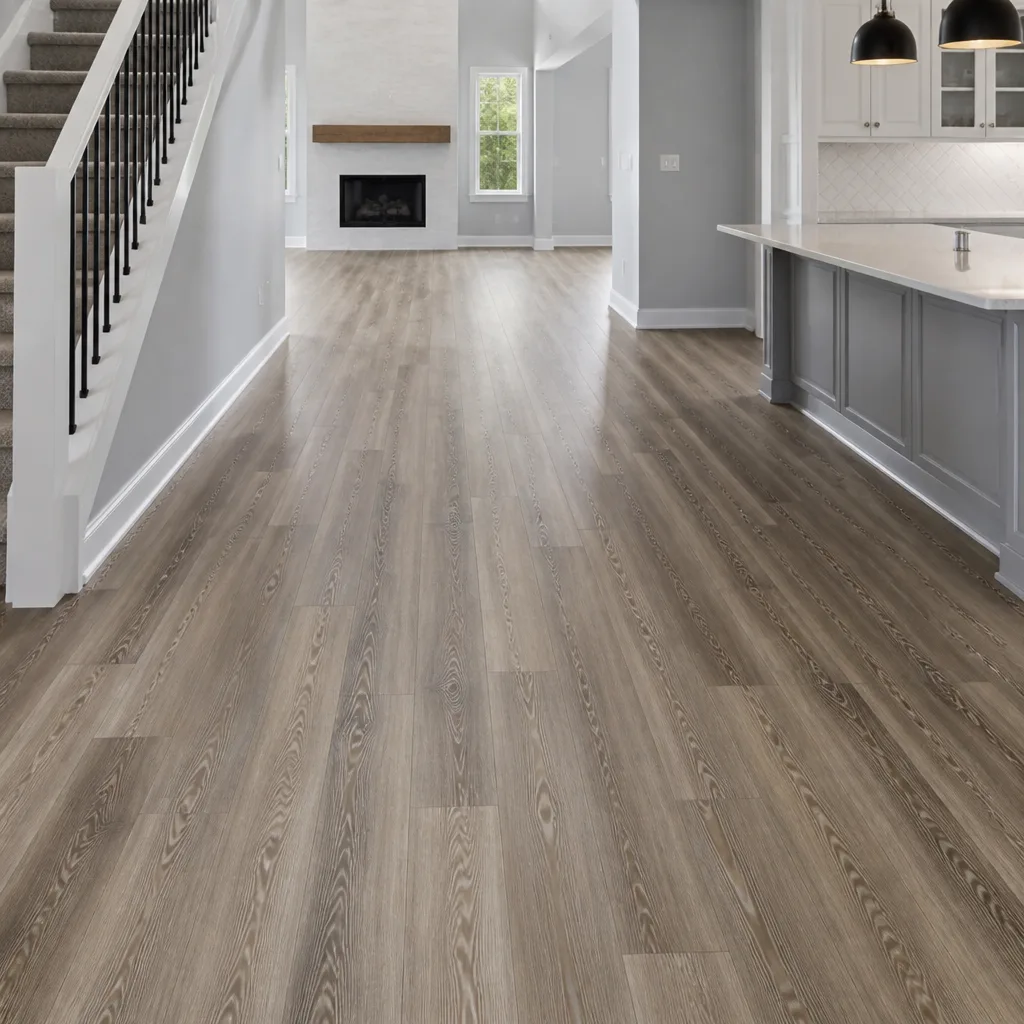 Shaw
 Mohawk
 COREtec
 Pergo
Free in-home measure and written estimate: Shaw, Mohawk, COREtec and Pergo lines compared on your own rooms, with carpet, tile, vinyl plank, laminate and hardwood laid out side by side
Get your free estimateHow to Prepare Your Home for a Flooring Installation in Sunrise Manor
Most homeowners think preparation means clearing the furniture out of a room. That’s the easy part. The decisions that actually determine whether a new floor performs the way it should get made in the 48 to 72 hours before the crew arrives, and they have almost nothing to do with moving a sofa. In Sunrise Manor, where summer indoor humidity can drop below 20% while the air conditioning runs nonstop and winter nights swing cold, the gap between a stable subfloor and a moving one is often just a few days of mismanaged indoor conditions. A floor installed without letting the material settle into the home’s actual climate is being set up to fail before the first plank is clicked. This guide walks through what to do, in what order, and why it matters more here than in most places.
Quick Answer
To prepare for a flooring installation in Sunrise Manor, clear the room completely, let the new flooring acclimate inside the home for the period the product’s instructions specify (usually several days), stabilize your HVAC so the indoor temperature and humidity stay steady, check the subfloor for moisture and flatness, and make a written list of transitions, appliances and door clearances to hand the installer before the crew starts. The single most overlooked step is acclimation: in a desert climate with wide seasonal swings, flooring that isn’t given time to adjust to the home’s real conditions can gap, cup or lift after installation.
Styles & brands we work with
- Hardwood
- Engineered hardwood
- Luxury vinyl plank
- Laminate
- Porcelain tile
- Carpet
- Shaw
- Mohawk
- COREtec
- Pergo
Table of Contents
- What Acclimation Actually Means in a Desert Climate
- Your Role in Moisture Prep
- Furniture Logistics: What Stays and What Goes
- Managing Pets and Children During Installation
- Communicating With Your Installer Before the Crew Arrives
- A Day-by-Day Prep Checklist
- Why Prep Looks Different for Carpet, Tile and Hardwood
- Common Mistakes to Avoid
What Acclimation Actually Means in a Desert Climate
Acclimation is the process of letting new flooring sit inside your home, in the room where it will be installed, until its temperature and moisture content match the conditions of that room. It’s not optional. Every flooring manufacturer sets its own acclimation requirements, and those instructions, along with the written estimate, set the standard for your specific product. What we can tell you from experience is that the desert makes this step more important, not less.
Sunrise Manor sits in the Las Vegas Valley, which means indoor conditions here can swing dramatically across a single year. Summer brings HVAC running constantly and indoor relative humidity that can fall below 20%. Winter brings cooler nights and heating that dries the air further. A box of flooring that sat in a truck or a warehouse at a different humidity level needs time to reach equilibrium with your home. Install it too soon and you’re locking in a moisture differential that can show up later as gaps between planks, cupping at the edges, or lifted tiles.
Here’s how acclimation differs by product type:
- Carpet. Carpet and its backing adjust to room conditions quickly, but the material should still be stored indoors at the home’s temperature before installation. The main variable is the room’s humidity at the time of install.
- Luxury vinyl and laminate. Brands like COREtec, Karndean, Pergo and LifeProof publish their own acclimation guidance. Plank products generally need to sit flat, in the room, out of direct sunlight, for the period the instructions specify. Stacked boxes need to be opened and arranged as directed so air reaches the material evenly.
- Tile. Ceramic and porcelain tile don’t “acclimate” the way wood-based products do, but the substrate and setting materials do. Daltile tile and the thin-set or mortar used to set it need the room’s temperature and humidity to fall within the range the product data sheets call for.
- Hardwood refinishing. If you’re refinishing existing hardwood rather than installing new, acclimation doesn’t apply, but the wood still needs stable indoor conditions before sanding and finishing so the boards are settled and the finish cures evenly.
One more point on timing: acclimation periods are set by the product instructions, not by us. Ask about the specific requirement when you book the estimate so the schedule reflects it. Trying to compress acclimation to save a few days is the most common way a floor gets installed into conditions it wasn’t ready for.
Your Role in Moisture Prep
Moisture is the enemy of nearly every floor, and in a desert that surprises people. “It’s dry here” doesn’t mean moisture is a non-issue. It means the moisture sources are different: plumbing under sinks and appliances, slab-on-grade construction that can wick moisture from below, a swamp cooler left running out of season, or a single humid stretch followed by a dry one. Your job before installation is to remove the obvious moisture sources and give the installer a stable baseline to test against.
What that looks like in practice:
- Stabilize the HVAC. Run your heating and cooling at normal household settings in the days before installation. Don’t leave the house closed up with the system off during a hot stretch and then expect the floor to install cleanly. Consistent indoor conditions are the goal.
- Run a dehumidifier if the room feels damp. If a room has been shut up, if you’ve had a recent leak, or if the indoor humidity is unusually high, a dehumidifier in the days before install helps. Don’t overcorrect into extreme dryness either; the aim is steady, normal conditions.
- Fix active leaks first. A dripping supply line, a slow drain, a water heater in the room being floored: any of these needs to be resolved before new flooring goes down. Installing over a moisture problem traps it.
- Clear the floor of moisture sources. Remove plants with saucers, pet water bowls, and anything that keeps a patch of subfloor wet. If the room has a slab floor, the installer will test it; your role is making sure the test reflects a normal, dry, settled condition.
What the installer should be testing before they start: subfloor moisture content and the flatness of the surface, both of which the product instructions and the estimate govern. We don’t publish a specific reading to hit because it depends on the product and the home, but a professional installer tests before installing, not after. If your installer skips that step, ask why. It’s a fair question and a sign of a careful crew when the answer is clear.
Furniture Logistics: What Stays and What Goes
Moving furniture yourself can reduce the labor in your estimate, which is real money, but it has to be done correctly. The risk isn’t the room being floored; it’s the rooms you’re moving things through. Dragging a dresser across existing carpet, tile or hardwood in an adjacent room can scratch or crush it. Plan the route before you lift anything.
What needs to leave the room entirely:
- All furniture, including beds, sofas, dressers, desks and shelving
- Area rugs and rug pads
- Floor lamps, plant stands and freestanding decor
- Wall-mounted items the crew needs access below, and anything hung near where trim or baseboards will be removed and reinstalled
- Electronics, TVs, and anything fragile or awkward to move mid-job
What can usually stay, with planning:
- Large items that can’t be moved without a crew, such as a piano or a heavy safe, if you flag them for the installer ahead of time
- Furniture in other rooms, as long as it’s not blocking the work path or sitting on the flooring being replaced
- Appliances that stay in place, like a refrigerator or washer, if the installer confirms they can work around them or has agreed to move them
Two details that matter in Sunrise Manor homes specifically: doorways and hallways are often narrow, so walk the path with the largest item you plan to move and confirm it actually fits. And if you’re temporarily storing furniture outside or in a garage during summer, watch the heat; extreme heat can warp or crack furniture finishes and hurt stored flooring material. Keep what you’re storing shielded.
For multi-room projects, remember that one contractor can handle carpet, tile and hardwood refinishing in a single renovation. If you’re planning floors across several rooms, ask for those services quoted together rather than scheduling separate vendors. Our Flooring Sunrise Manor approach is built around exactly that kind of single-source project.
Managing Pets and Children During Installation
The safety concerns here are real, not just convenience. Installation involves dust, open subfloor, sharp tools, and in some cases adhesives and finishes that need time to cure. A child running into the work area or a pet stepping across a just-finished surface can cause injury or damage that isn’t covered by anything. Plan for a separation, not just supervision.
Practical steps:
- Set up a closed-off zone. Choose a room away from the work area, with a door that closes, for pets and young children to stay during active installation. Keep food, water and a bed there.
- Keep pets away from adhesives and finishes. If you’re having carpet installed with adhesive or a hardwood floor finished on site, the fumes and wet surfaces need to be kept clear of pets and children until the installer says it’s safe. Ask about ventilation and cure times at the estimate.
- Block the open work area. Open subfloor is a trip and fall hazard. If the crew has removed flooring and there’s a gap or opening, make sure children and pets can’t access it.
- Plan for the finish cure. A freshly finished hardwood floor or a wet adhesive needs time to cure before foot traffic. The product instructions and the installer set the timing. Until then, keep everyone off the surface.
- Have a backup routine. If installation runs over a day or two, have a plan for where pets and kids sleep and spend time that doesn’t involve the work area. It’s much easier to set up in advance than to improvise.
Dust is part of the job. Sanding hardwood and cutting tile generate fine dust, and even the cleanest crew will produce some. Closing doors, covering vents in adjacent rooms, and running a vacuum with a good filter helps. Ask the installer how they handle dust control; it’s a reasonable question and a sign of a crew that plans ahead.
Communicating With Your Installer Before the Crew Arrives
The most expensive problems with flooring installation are usually the details nobody discussed. A door that won’t clear a thicker new floor. A transition strip between two rooms that doesn’t line up. An appliance that can’t be moved without disconnecting plumbing. These become site surprises when a crew arrives, and site surprises cost time and money. Write them down and hand the list over before installation day, not during it.
What to put on the list:
- Transitions. Where will the new floor meet the old floor in the next room, at doorways or hallways? Will a transition strip or a t-molding be needed? The installer needs to know before they measure.
- Appliances. Refrigerator, washer, dryer, dishwasher: which are staying, which need to be moved, and whether they need to be disconnected. Planning this early prevents a mid-install delay.
- Door clearances. New floors add height. Ask whether doors will need to be trimmed, and flag any that already clear the current floor by very little.
- Existing subfloor conditions. Anything you’ve noticed: a soft spot, a squeak, a hump, a previous repair. Tell the installer what you know.
- Furniture moving you’re doing yourself. Confirm what you’ve moved and what’s staying, so the crew knows exactly what to expect.
- Pets and household logistics. Let them know about animals, kids or anyone who needs a quieter work zone.
One more communication habit that pays off: get the product’s installation instructions to your installer, or at least confirm they have them for the specific product and brand. With nine brands in our lineup, from Shaw and Mohawk carpet to Daltile tile and Karndean luxury vinyl, the installation details vary by product. The installer’s job is to follow the manufacturer’s instructions and the written estimate. Your job is to make sure nothing stands in the way.
A Day-by-Day Prep Checklist
Here’s how the lead-up to installation should look in most Sunrise Manor homes. Exact timing depends on the product’s acclimation requirement, which the estimate will spell out.
- Several days ahead: Confirm the installation date. Ask how long the product needs to acclimate. Have the flooring delivered and stored in the room where it will be installed, flat and out of direct sunlight.
- Three days ahead: Run the HVAC at normal settings so indoor conditions are steady. Arrange furniture storage and set up a closed-off room for pets and kids. Clear the work area of small items, rugs and decor.
- Two days ahead: Move the furniture you’re handling yourself, using the route in the adjacent rooms carefully to avoid damage. Flag anything heavy to the installer. Address any leaks or moisture sources in the room.
- One day ahead: Vacuum and sweep the work area. Take a final walk-through with your written list of transitions, appliances and clearances. Confirm where the crew will enter and where tools will be staged. Move vehicles if the work area needs the driveway or garage.
- Installation day: Keep the work zone clear of pets and children. Stay reachable for questions but let the crew work. If something on the list looks different from what was discussed, say so early rather than after the floor is down.
If you’re installing carpet, the prep checklist shifts slightly toward clearing the room and confirming the carpet’s acclimation and ventilation needs. If tile is involved, the schedule depends on the installer’s substrate prep and setting times. If you’re refinishing existing hardwood, the prep is mostly about moving furniture and arranging for dust control and cure time. Get the products and instructions set at the estimate and the day-by-day plan falls out naturally.
Why Prep Looks Different for Carpet, Tile and Hardwood
Not every flooring project needs the same prep, and treating them the same causes preventable problems. Here’s the short version, category by category.
Carpet. Carpet installation is the most forgiving in terms of acclimation, but the room still needs to be empty and the HVAC stable. The main variables are the condition of what’s underneath (existing carpet removal, tack strip removal, subfloor cleaning) and the humidity in the room on install day. Carpet in a room that’s been closed up and damp for weeks should be dried out and conditioned first. For more on what carpet installation involves, see our carpet installation page.
Tile. Tile needs a flat, stable, clean substrate. The setting materials need to be used within the temperature and humidity range the product specifies. Daltile, a professional-grade brand, comes with its own data sheets for the setting materials and its own requirements for the substrate. In a desert climate, the main variable is usually the substrate’s moisture condition and any cracks or movement in the slab. A good installer tests the substrate before setting tile; that’s the step to ask about.
Luxury vinyl and laminate. Plank products like COREtec, Karndean, Pergo and LifeProof are laid over a prepared subfloor and often a manufacturer-specified underlayment. The acclimation period matters because the planks expand and contract with temperature and humidity. In a home where summer and winter conditions swing hard, the acclimation and the underlayment choice are both doing real work. These floors are water-resistant, not waterproof: standing water and moisture from below still have to be dealt with, and the prep should account for that.
Hardwood refinishing. Refinishing existing hardwood is a different project entirely. There’s no acclimation, but there is a lot of dust and a finish that needs time to cure. The room needs to be clear, the HVAC steady, and the household prepared to stay off the floor for the cure period the finish specifies. The right approach depends on the wood; a floor can be refinished only if its thickness and condition allow it, which gets checked at the estimate visit. Refinish before you replace is often the honest answer, and we’ll tell you which option makes sense for your floor.
Why One Contractor for Carpet, Tile and Hardwood Refinishing Matters
A multi-room renovation that mixes carpet in the bedrooms, tile in the kitchen and refinished hardwood in the living room is a coordination problem if you hire three separate vendors. Schedules collide. Each vendor waits on the next. A transition from tile to hardwood gets blamed on the wrong crew when something doesn’t line up. A single-source contractor removes that risk because one team is planning the sequence and the transitions.
That’s how we’re built in Sunrise Manor. Our technicians have up to 14 years of experience, and our work covers carpet, tile and hardwood refinishing as distinct service lines. We install and service the floor you choose from a portfolio that includes Shaw, Mohawk, COREtec, Karndean, Daltile, Pergo, LifeProof, Mannington and Armstrong. Nine brands. Three services. One specialist. You’re not being sold the one product a warehouse happens to stock; you’re choosing from a curated range and getting the craft that does the install justice.
The practical difference in a Sunrise Manor home is scheduling. One crew arrives, works through the rooms in a planned order, and handles the transition areas between them. You’re not coordinating between a carpet installer and a tile setter. That matters when you’re living in the house during the work. For more on Sunrise Manor as a place to live and renovate, see our Sunrise Manor page.
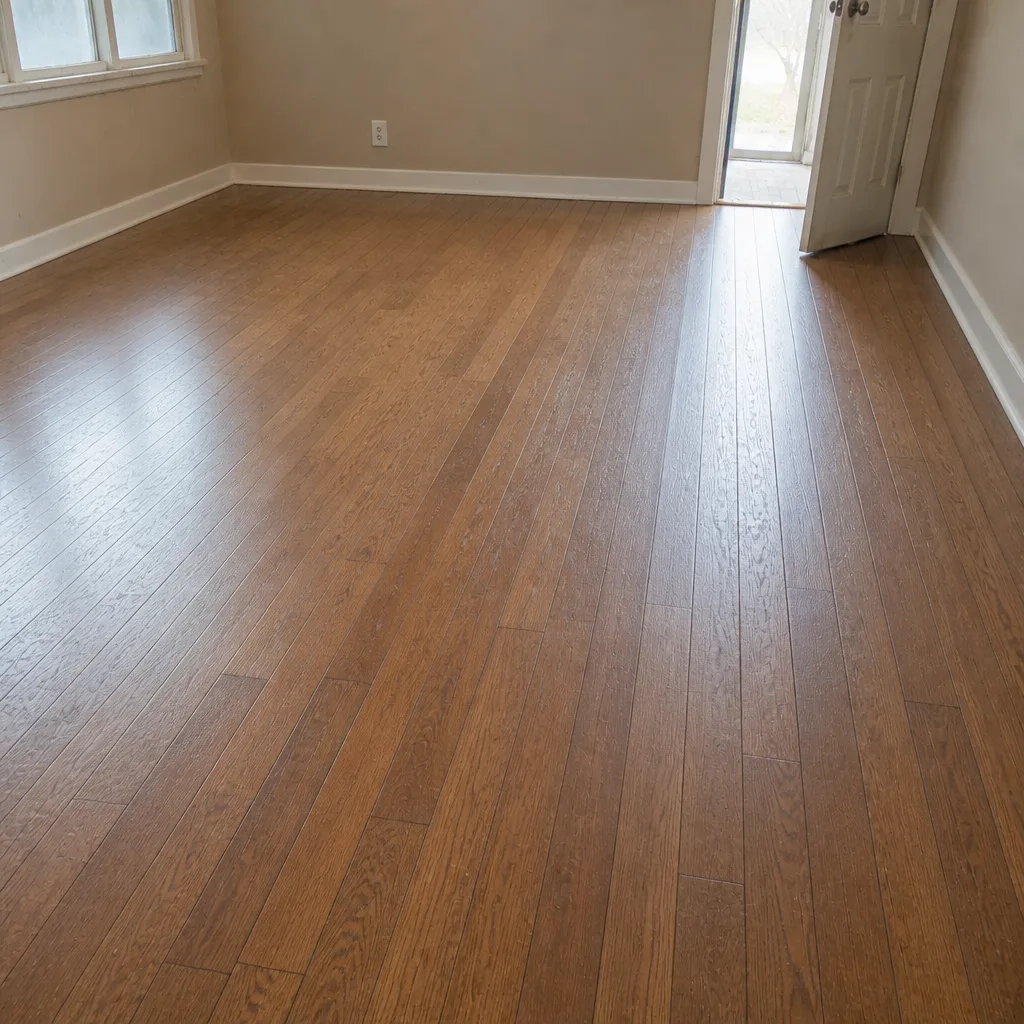
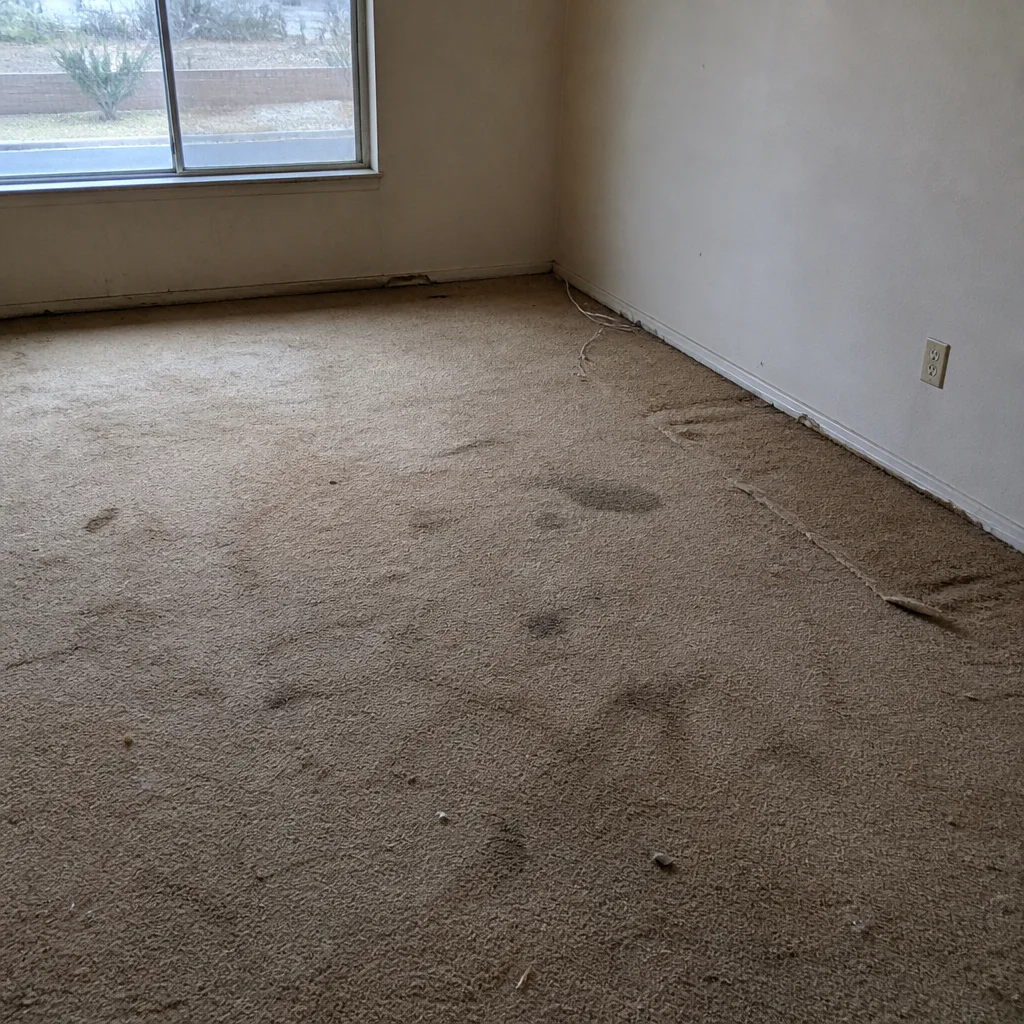
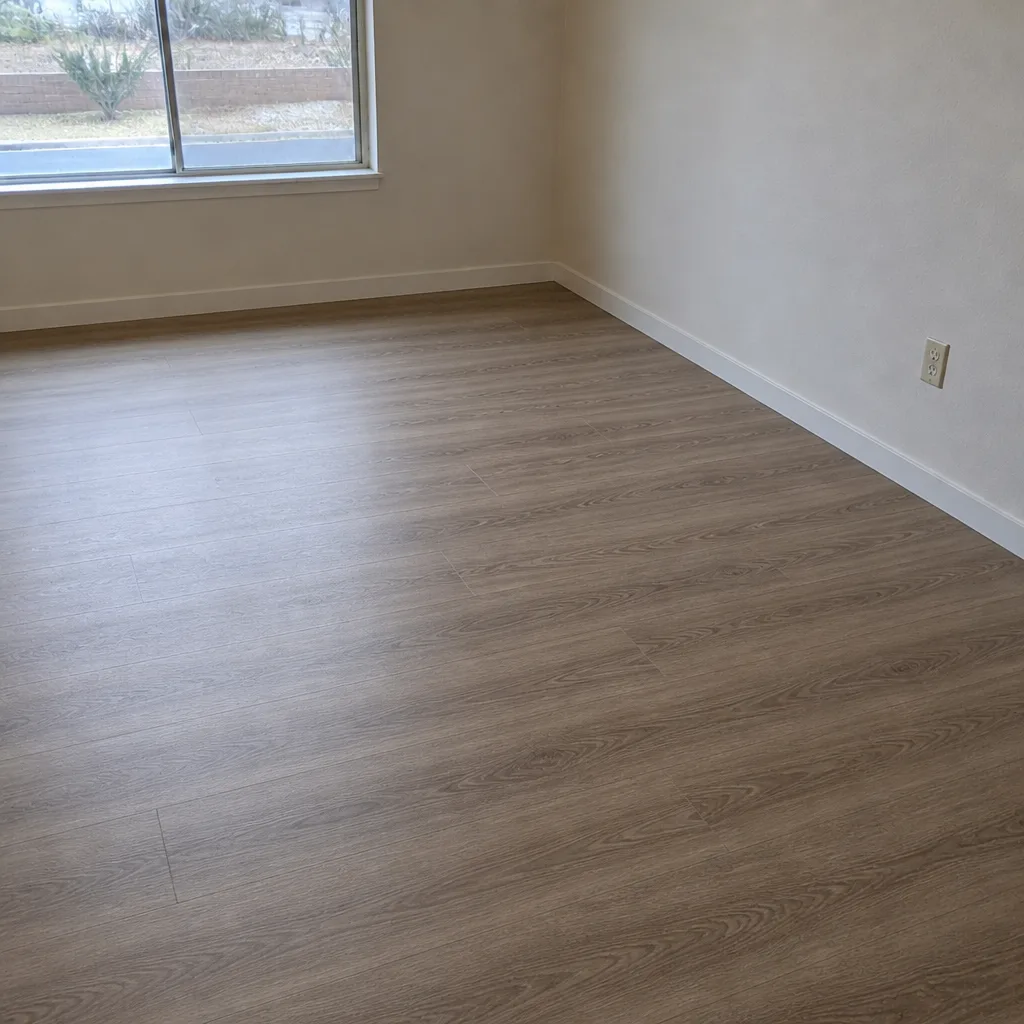
See the difference
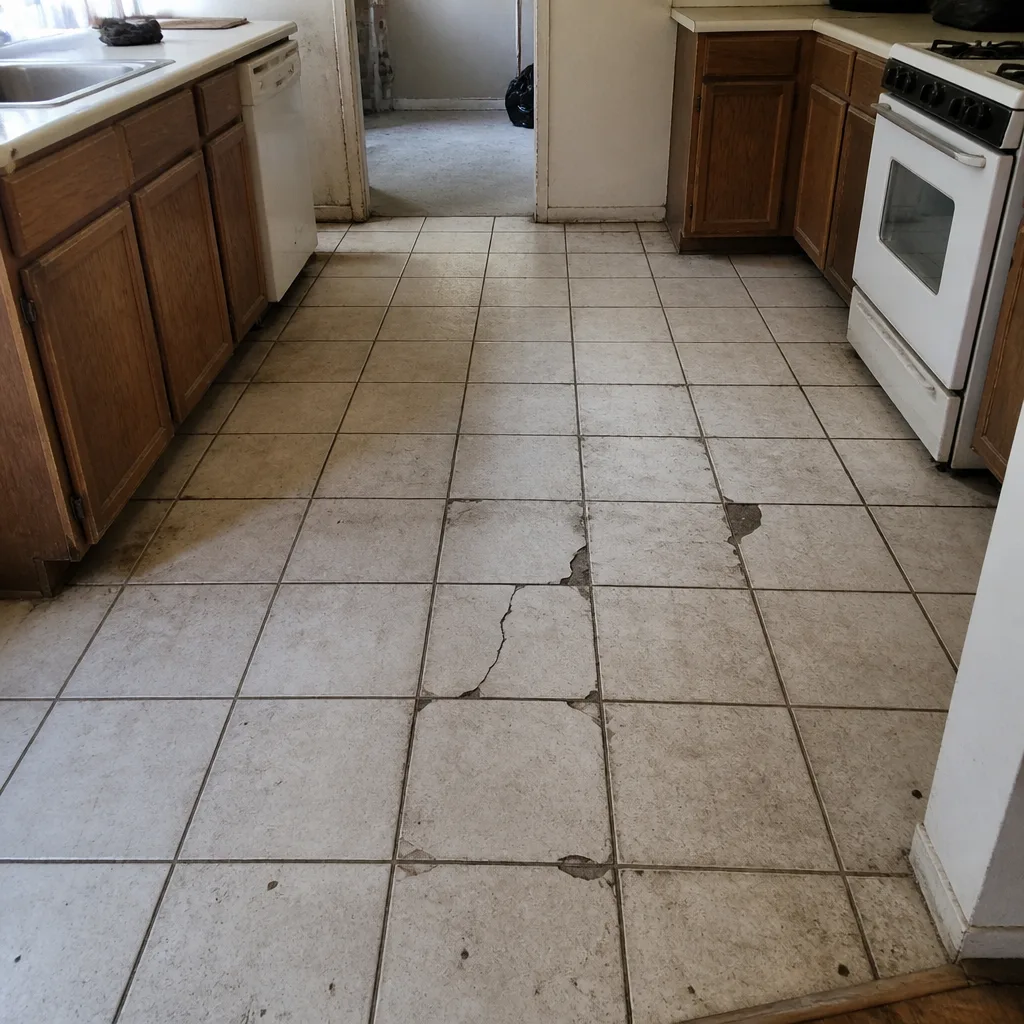 Before
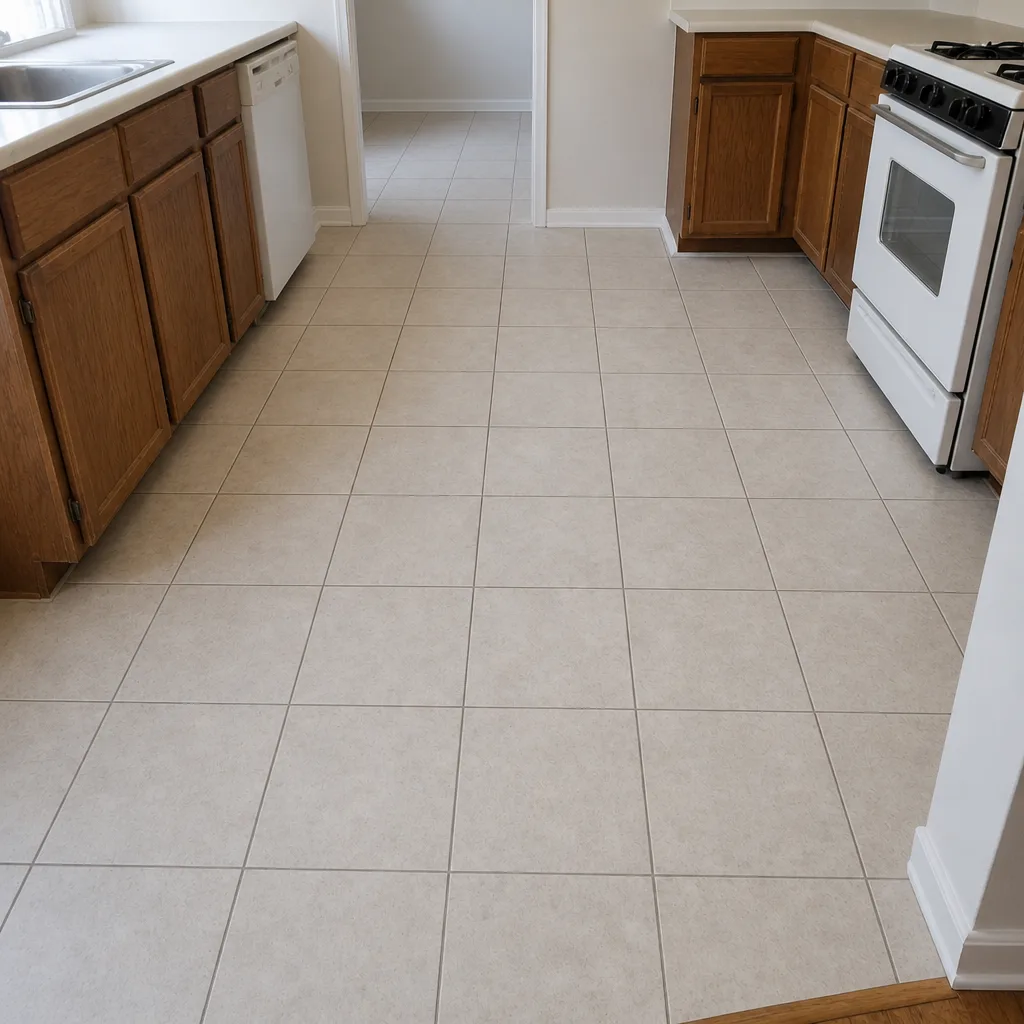 After
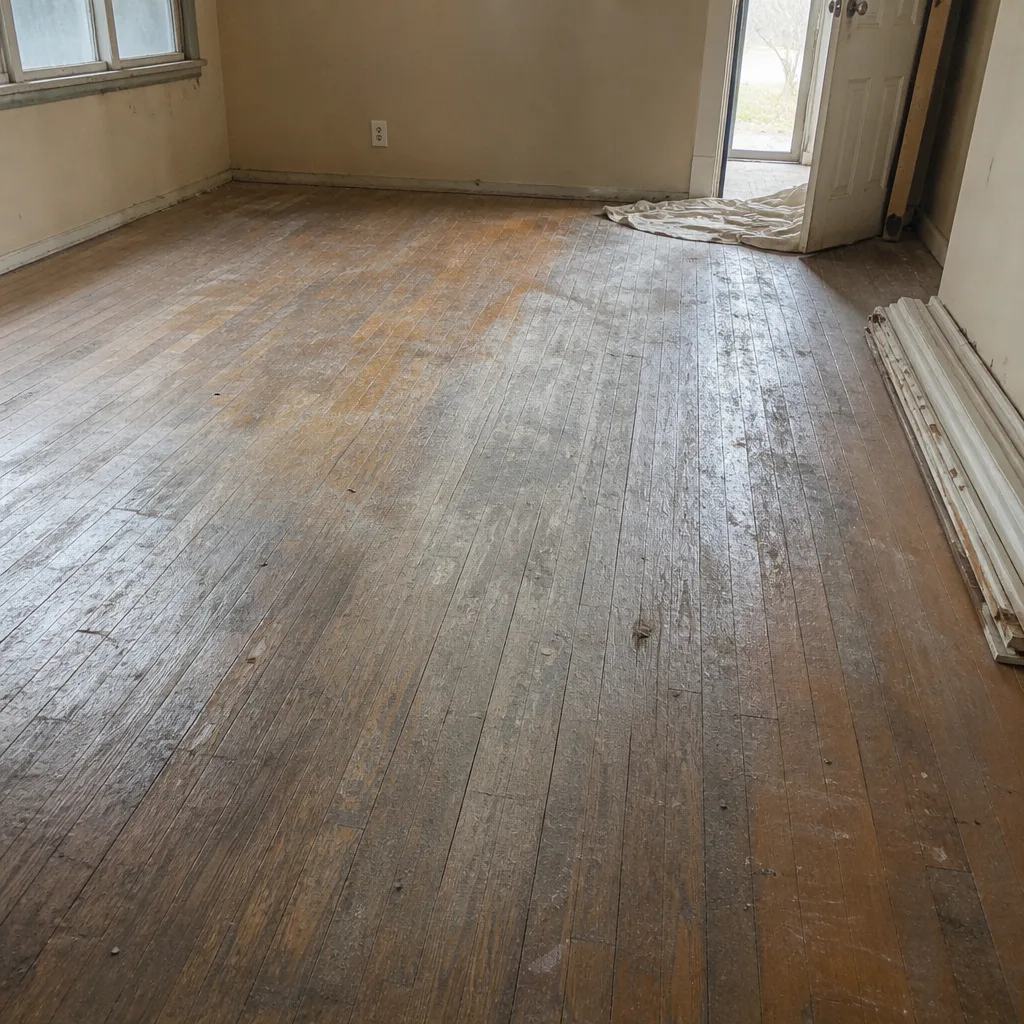 Before
 After
 Before
 After
Common Mistakes to Avoid
- Skipping or shortening acclimation. It’s the single most common error. Flooring installed before it adjusts to the home’s real conditions can gap, cup or lift, and no installment of skill fixes that after the fact.
- Letting the house heat up or dry out during the prep window. In Sunrise Manor summers, leaving the HVAC off during a hot stretch and then installing the floor creates a big swing in indoor conditions. Keep the system at normal settings.
- Moving furniture across adjacent rooms carelessly. Dragging a dresser across existing carpet, tile or hardwood can damage the very floors you’re not replacing. Plan the route and lift rather than drag.
- Forgetting to list appliance and doorway clearances. Site surprises cost time. A refrigerator that needs disconnecting or a door that won’t clear a thicker floor is far cheaper to catch before the install than during it.
- Leaving moisture sources in place. A leaky supply line, a damp storage area, or a pet water bowl sitting on the subfloor can undermine the whole job. Clear them before installation day.
- Not asking about dust control and cure times. Sanding and finishing generate dust, and adhesives and finishes need time to cure. Ask about ventilation and timing at the estimate so your household can plan.
- Hiring three separate trades for a mixed-floor renovation. When carpet, tile and hardwood refinishing are all involved, a single contractor avoids the coordination risk and the transition problems that come with multiple vendors.
When to Call a Professional
Some prep is genuinely yours: clearing the room, moving furniture, stabilizing the HVAC. Some of it isn’t. Any project involving tile setting, hardwood sanding and finishing, or installation over a concrete slab with a moisture question should be handled by a trained professional. Hardwood refinishing in particular is a skilled trade most flooring retailers don’t perform, and a floor that’s been sanded through or finished unevenly is difficult to recover. If you’re evaluating subfloor conditions, testing moisture, or deciding between refinishing and replacement, get an expert opinion before you commit.
We offer free estimates in Sunrise Manor. The estimate visit is where we measure, check the subfloor, review your product choices and give you a written price. Call (888) 403-9063 to schedule yours. We answer 24/7. Fast dispatch from 7am to 7pm, Sunday through Friday.
Frequently Asked Questions
It depends on the product and the manufacturer’s instructions, and usually runs several days. The acclimation period is set by the product instructions, not by a fixed rule, so ask for the specific requirement at your estimate so it can be built into the schedule.
Yes for the room being floored, and moving it yourself can reduce labor in your estimate. Large items like a piano or safe should be flagged for the installer ahead of time, and furniture in other rooms should be kept clear of the work path. Call (888) 403-9063 with questions about what needs to move.
Yes. The estimate in Sunrise Manor is free, and the visit includes measuring, checking subfloor conditions and giving you a written price. The written estimate sets the final price. Call (888) 403-9063 to schedule yours.
The schedule is set at the estimate and depends on the product, the room count and the acclimation period. It’s a booked job, not a same-day appointment, so the crew is scheduled once the product is on site and settled. Call (888) 403-9063 for a specific timeline on your project.
Run your HVAC at normal household settings in the days leading up to install, and address any leaks or damp areas in the room. Stable indoor temperature and humidity help the floor settle and help adhesives and finishes perform. Your installer will tell you what product-specific conditions to maintain.
Often, but whether a floor can be refinished depends on the thickness of the wood and its condition, which gets checked at the estimate visit. Refinishing is a restoration service that extends the life of existing hardwood, and we’ll tell you honestly whether it makes sense for your floor. Call (888) 403-9063 to schedule an assessment.
The Bottom Line
The prep window before installation isn’t down time; it’s part of the job. Acclimation, stable indoor conditions, moisture checks, careful furniture logistics and a clear list of transitions and clearances all decide whether the finished floor performs to spec. In a Sunrise Manor home, with its wide indoor swings between summer and winter, those steps matter more, not less. Get them right and the installation itself usually goes smoothly. Get them wrong and you’re troubleshooting a floor that never had a fair start. For carpet, tile or hardwood refinishing, get a written estimate first, then a booked install day. That’s how a floor gets done right.
Written by the team at Flooring Sunrise Manor.